
Installation guide
How to Install Removable Bollards
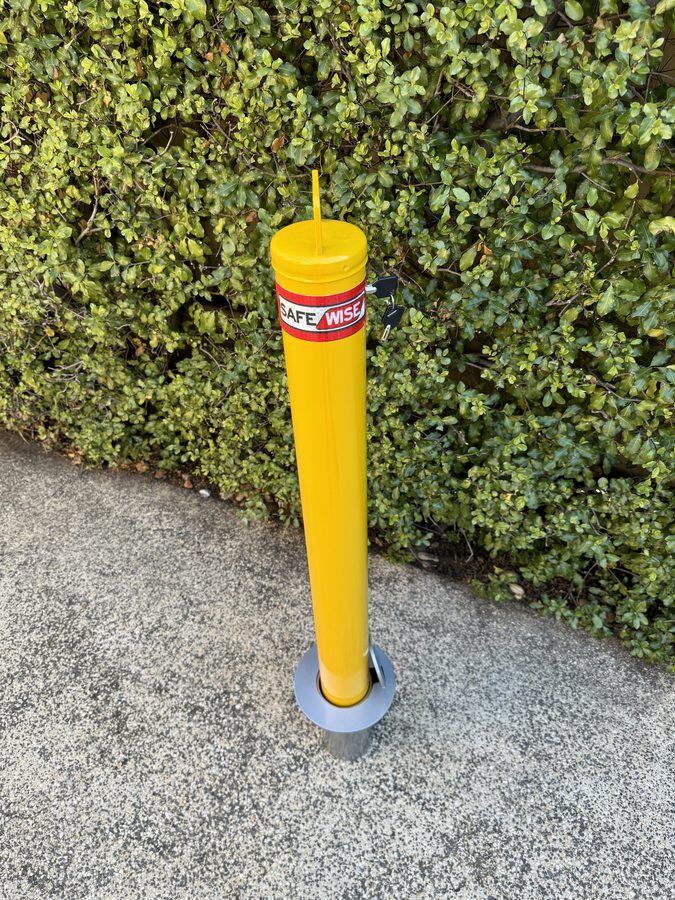
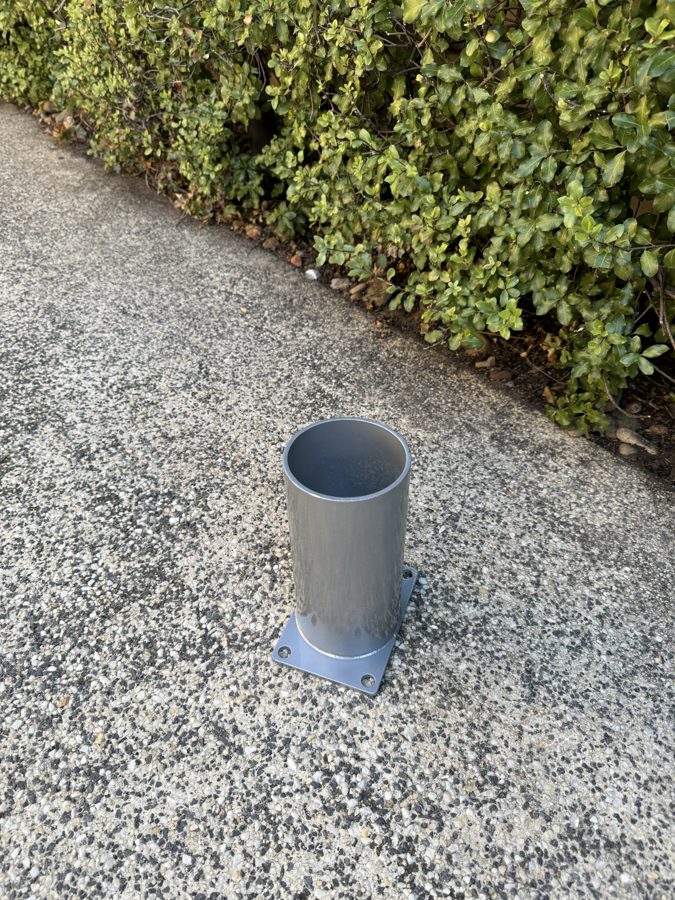
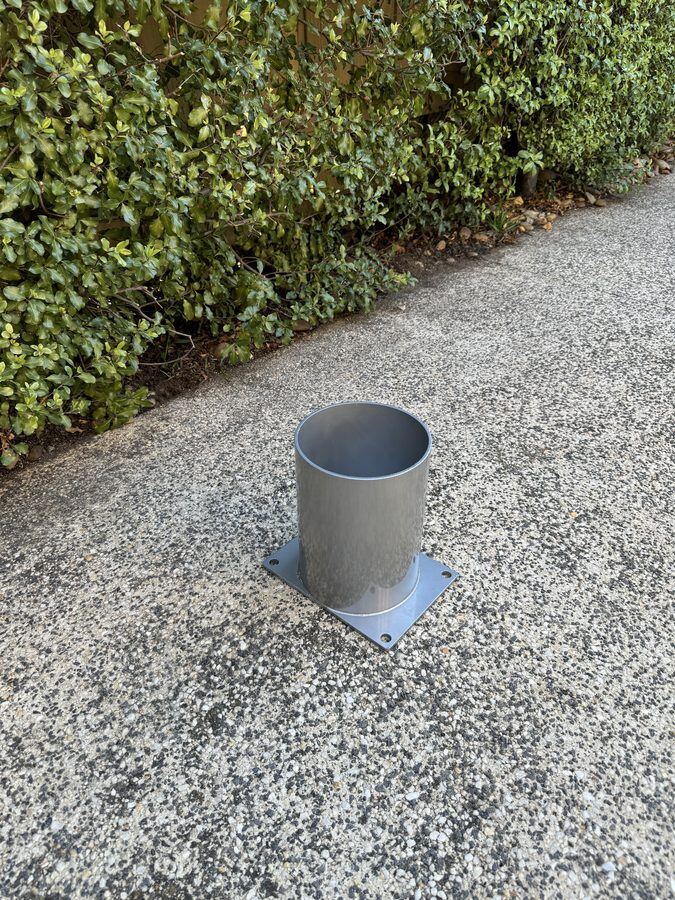
Removable key-lock bollards go in one of two ways: cast into a fresh concrete pour, or core drilled into an existing slab. Both rely on the same part doing the work — the in-ground sleeve. Here's how to get the hole, the sleeve and the bollard right the first time.
What you'll need
- In-ground sleeve — matched to your bollard diameter (90mm or 140mm).
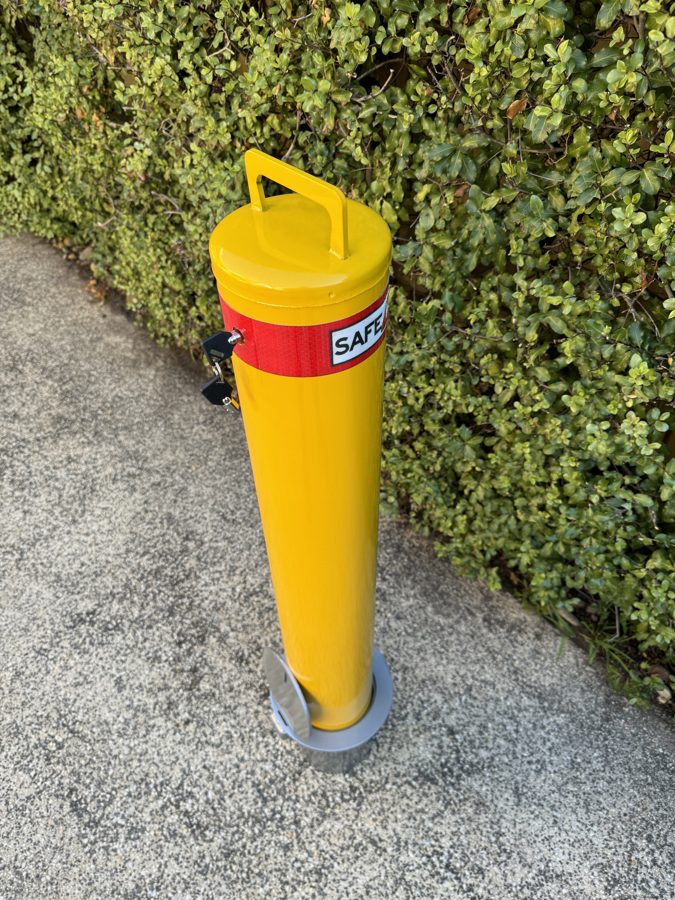
- Removable bollard with key-lock mechanism and keys.
- Core drill (for existing concrete) or formwork/spacer (for a new pour).
- Non-shrink grout or concrete to backfill around the sleeve.
- Compacted road base or gravel for a drainage layer under the sleeve.
- Service locating equipment — a scanner, or a Dial Before You Dig / BYDA check.
- Trowel, spirit level and PPE for finishing the surface flush.
Method
Two ways to set the sleeve
Which method you use comes down to whether you're pouring new concrete or retrofitting into a slab that's already down. Both end with the same result: a sleeve sitting flush with the finished surface, ready to take the bollard.
Method A — casting into a new pour
-
1. Lay the drainage base
Before the pour, place a layer of compacted gravel or road base beneath where the sleeve will sit. The sleeve's base plate has weep gaps, and standing water trapped in a closed hole is the main cause of a rusted-out sleeve down the track — give it somewhere to drain.
-
2. Position and support the sleeve
Stand the sleeve in place and brace or peg it so it can't move during the pour. Use a spirit level to get it plumb — an out-of-square sleeve makes the bollard sit crooked every time it's fitted.
-
3. Set the collar flush with the finished surface
The top of the sleeve and its cover collar should finish level with the surrounding concrete, not proud of it and not recessed. A sleeve sitting high is a trip hazard; one sitting low lets water and grit pool over the lock.
-
4. Pour, screed and cure
Pour around the sleeve, screed the surface, and let the slab cure fully before anything drives or walks over it — typically around 48 hours for foot traffic, longer before it takes vehicle loads. Don't fit or lock the bollard until the surrounding concrete has cured.
Method B — core drilling into existing concrete
-
1. Locate services first
Before you mark a hole, get the area checked for underground services — power, water, gas, communications. Lodge a Dial Before You Dig (BYDA) enquiry and use a scanner on the slab itself; a core drill doesn't stop for a conduit.
-
2. Drill to the right diameter and depth
Core drill to suit the sleeve you're fitting: roughly 130mm for the 90mm sleeve (Ø102mm internal) and around 220–225mm for the 140mm sleeve (Ø152mm internal). Drill to a depth that comfortably takes the sleeve's full body — approximately 225mm for the 90mm sleeve and 200mm for the 140mm sleeve — plus a little extra for the drainage layer underneath. We recommend using a professional core driller for a clean, accurate hole.
-
3. Add drainage and backfill
Tip a shallow layer of gravel into the base of the cored hole so the sleeve isn't sitting in a sealed pocket. Lower the sleeve in, check it's plumb and sitting flush, then backfill the annulus around it with a non-shrink grout or concrete.
-
4. Trowel flush and cure
Trowel the grout or concrete off level with the surrounding surface and let it cure fully before fitting the bollard — again, allow around 48 hours as a general guide, more in cold or wet conditions. Rushing this step is the most common cause of a sleeve working loose.
Fitting and locking the bollard
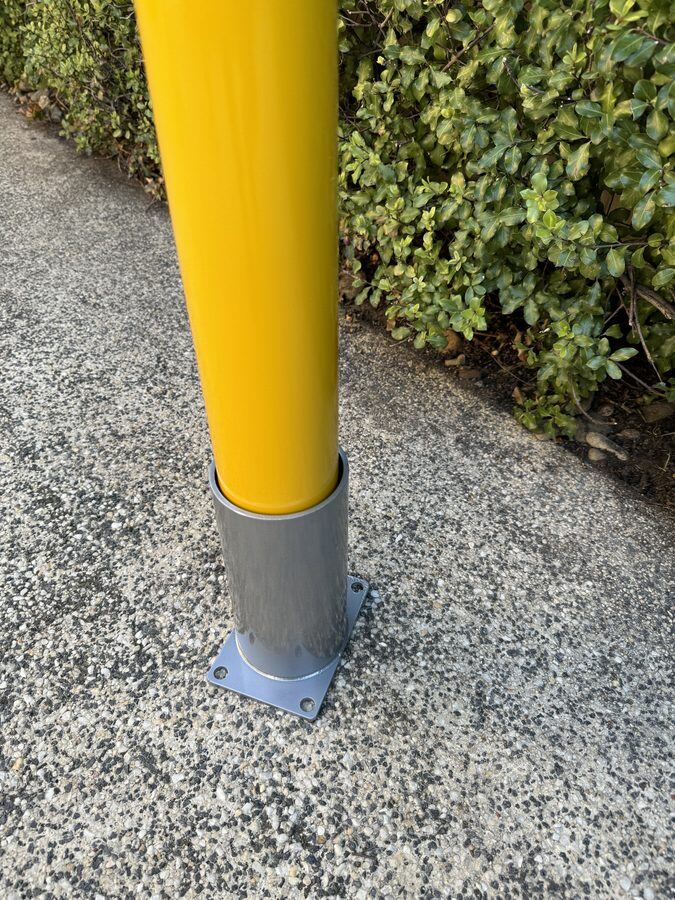
Once the sleeve has cured in place, drop the bollard into the sleeve, seat it fully and engage the key-lock mechanism. It should sit square, snug against the collar, with no side-to-side play once locked. If it rocks, check the sleeve is packed evenly and hasn't moved during curing.
Ongoing maintenance
- Keep the lock moving — a light spray of lubricant in the key barrel stops it seizing.
- Clear the sleeve — grit and debris in the collar can stop the bollard seating fully; clean it out periodically.
- Check the reflective band — replace or clean bollards if the band fades, especially on low-light sites.
- Inspect the finish — touch up powder coat chips early to stop corrosion starting at bare steel.
Always locate underground services before core drilling — use Dial Before You Dig
(BYDA) and a scanner on site. Confirm any load-bearing or structural requirements with your
site engineer where relevant, and engage a qualified installer or concreter for the drilling
and setting work. SafeWise supplies product only and is not responsible for installation.
Related products
What you'll need to buy
Ready to order sleeves or bollards?
Tell us your quantities and delivery postcode — we'll come back with a landed price and lead time.